Welding Cart
September 15, 2020
My wonderful wife got me a MIG welder last Christmas. I don’t think she realized the slippery slope it represented… After all, MIG stands for Metal Inert Gas, so what good is it without said inert gas? Which comes in the form of a big and not inexpensive tank of Argon (mostly) and CO2 (25%). Now, hauling that sucker around the garage/yard any time you want to weld something is not just a pain, it’s a risk! Obviously I need to make a welding cart, in the name of safety. Some other tools may be necessary to complete the project…
Step 1: Research all the different ways of putting together a cart. There are an amazing assortment of overkill carts out there; some of these things are nicer than my car, I kid you not. Pretty much all the “off-the-shelf” carts are cheap junk. I found a couple reasonable examples on the web, with enough photos to see what the common issues and solutions were. OK, looks like I may as well come up with my own design.
Step 2: Design a cart. It’s just a simple thing, right? Yeah. It’s always more complicated than you expect… But I did manage to come up with something I thought would work pretty well. I knew I wanted large tires in the back, under the gas tank where most of the weight is, to make rolling it over edges, door jambs, etc. easier; I didn’t want anything larger than it needed to be to move the welder, tank, and accessories around, so I came up with a fairly streamlined but very robust design.
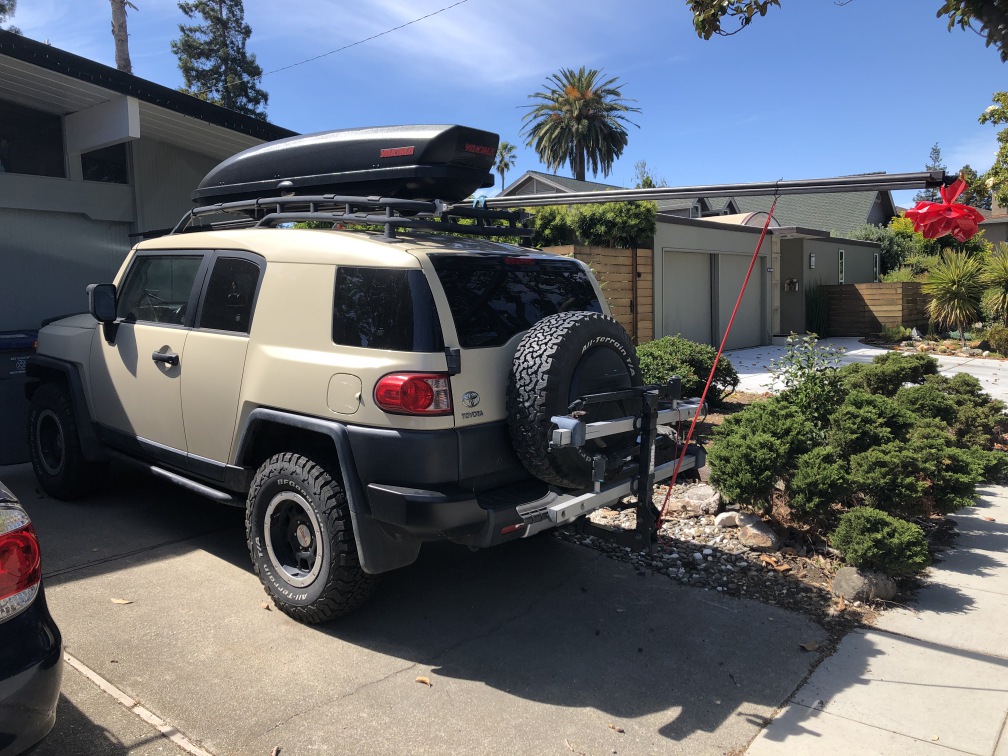
Step 3: Source the materials. This being the midst of a pandemic, it’s not as simple as just driving over to the local metal-supply outfit and picking up what you need. I looked at ordering on-line, but while the cost of the metal was quite reasonable, the shipping was expensive. I found a local shop that was open, with robust pandemic protocols so I felt comfortable going over there to pick up my order. They have a minimum 20-ft length for any item, and their cut charges were more than I wanted to pay, so I ended up with more material than I needed, but I figured that’s useful to have on hand for future projects. They loaded the lot on top of my truck’s rack; I strapped it on and added a handy “warning flag” left over from Christmas and brought it home. I chopped all the 20-ft sticks in half with a cutoff wheel so it would fit in my designated spot in the garage. The remaining items (wheels, hardware) I bought from the local Lowes and Amazon.
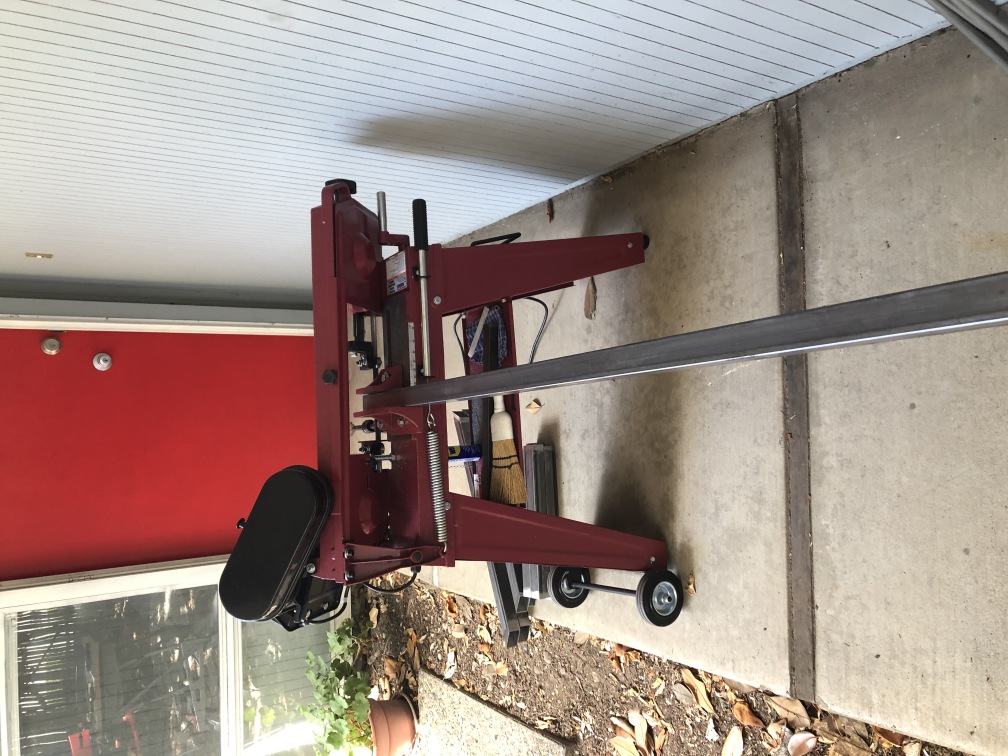
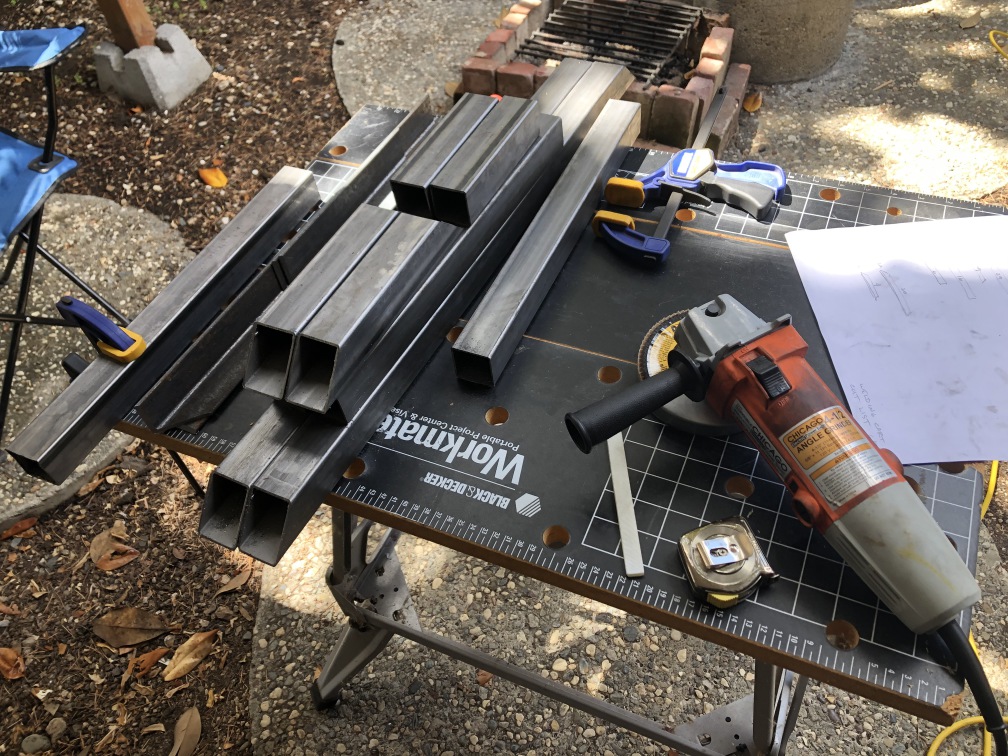
Step 4: Cut the stock. I realized as I was designing the cart that there would be a lot of cuts to make, and that I would not be able to do it with a hacksaw… and trying to do it with a cutoff wheel on an angle grinder wasn’t going to give me the precision required. Hmmm. I considered buying a chop saw, but while it would be fast, they’re not the most accurate and they make an unholy mess and noise. I decided instead to get a horizontal bandsaw; the ~$200 ones from Harbor Freight are identical to the $500 versions also on the market, and they’ve been around for ages – so there’s tons of stuff on the interwebs about how to make them actually work well. I did look for something made in the US, but there just isn’t anymore. So I ordered one; thanks to COVID-19 and our President, anything coming from China is delayed at best, and hit with a tariff. My bandsaw eventually showed up, in a rather mangled cardboard box. It seemed to be mostly OK, but for a smashed-in motor fan cover. I cobbled together a replacement from the bottom of a milk jug. It took a while to get it assembled and tuned up to cut straight, and in the course of that process I used up the craptastic blade it came with. A new bi-metal blade put it back to cutting, better than ever, and I made short work of chopping up all the pieces needed for the cart.
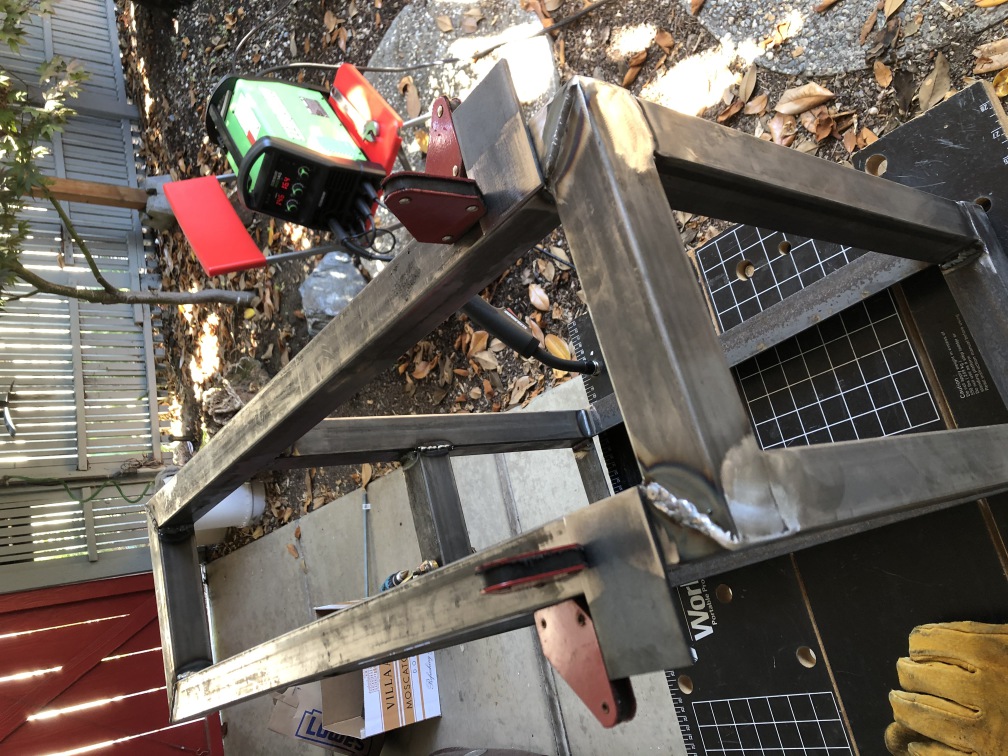
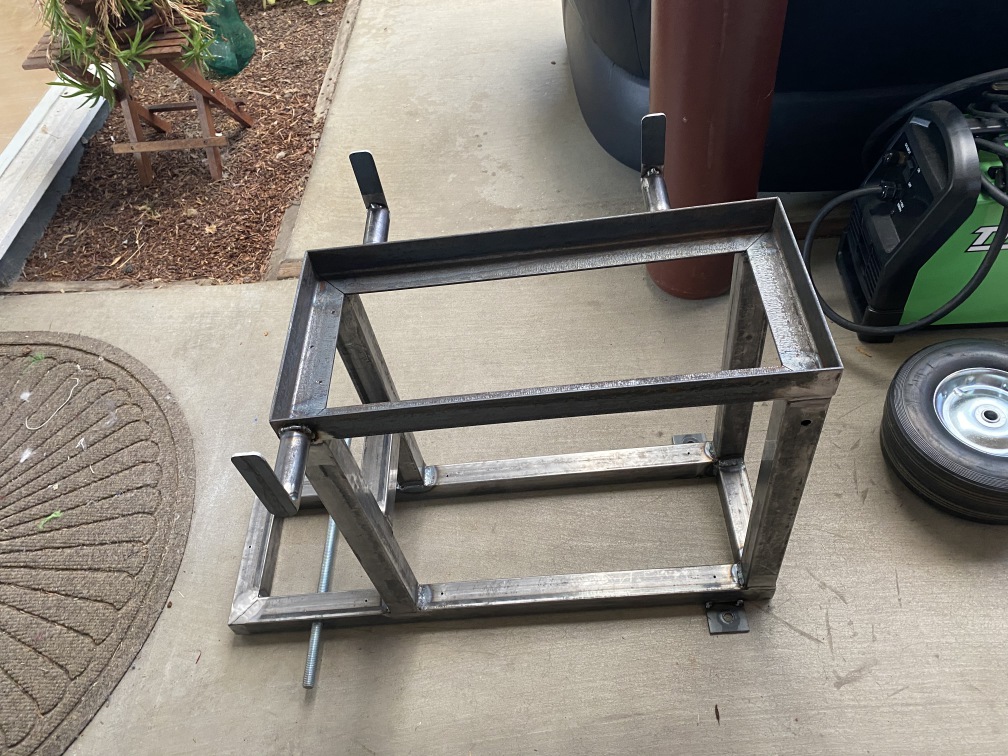
Step 5: Weld things together. This was perhaps the easiest part of the process! My welds weren’t very pretty, but they improved as I went, and isn’t that the whole point of making a welding cart? Now, are we done yet? Nope.

Step 6: Drill holes. Oops, this probably should have been before Step 5. There were a couple places where it was quite challenging to get an accurate hole through both sides of a piece of square tube, or to get the drill into a tight spot. Anyway, I managed to get the holes done.
Step 7: Cut plywood for shelves and tank supports. I printed out full-size templates for the tank supports, and cut them out with a sabre saw.
Step 8: Fit hardware to the cart. Really no problems here; everything fit up as it should. Then I took it all apart.
Step 9: Prep and paint. I cleaned everything up, ground down a few of the nastier welds and sharp corners, and gave it a good coat of rust-preventing primer, followed by gloss black enamel.
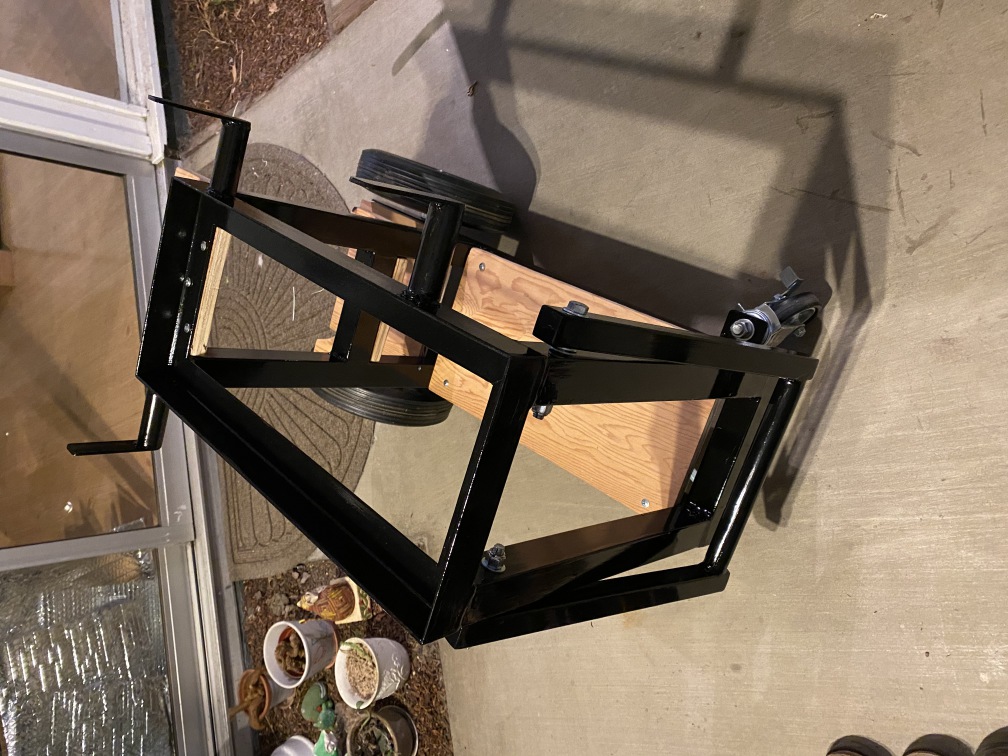
Step 10: Re-assemble hardware.
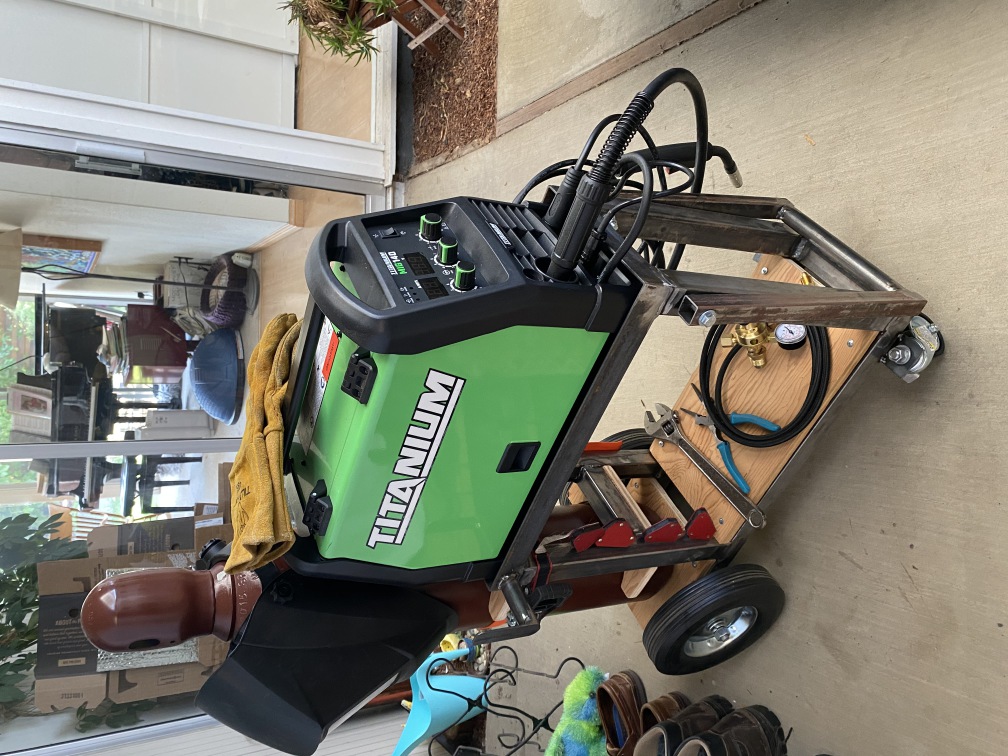
Step 11: Profit! Now I have a pretty little welding cart. I’m sure it only cost me 3x what the cheap sheet-metal Chinesium carts at Hateful Fright go for, not counting my labor of course. But it’s built like a tank, and just feels solid – the wheels have actual ball bearings, nothing rattles or wobbles in the slightest, and I can guarantee there isn’t another one like it anywhere. I’ll enjoy it every time I get the welder out.